
“PC-1203 Perry Class”
 Measurements:
- Length: 77 cm
- Displacement: 7.700/8.00 KG
- Scale: none
This is a “re-building” thread, as the model was given to me as a “RTRish” gift on Christmas 2016.
Work began: 25.12.2016
Maiden voyage: 22.05.2017
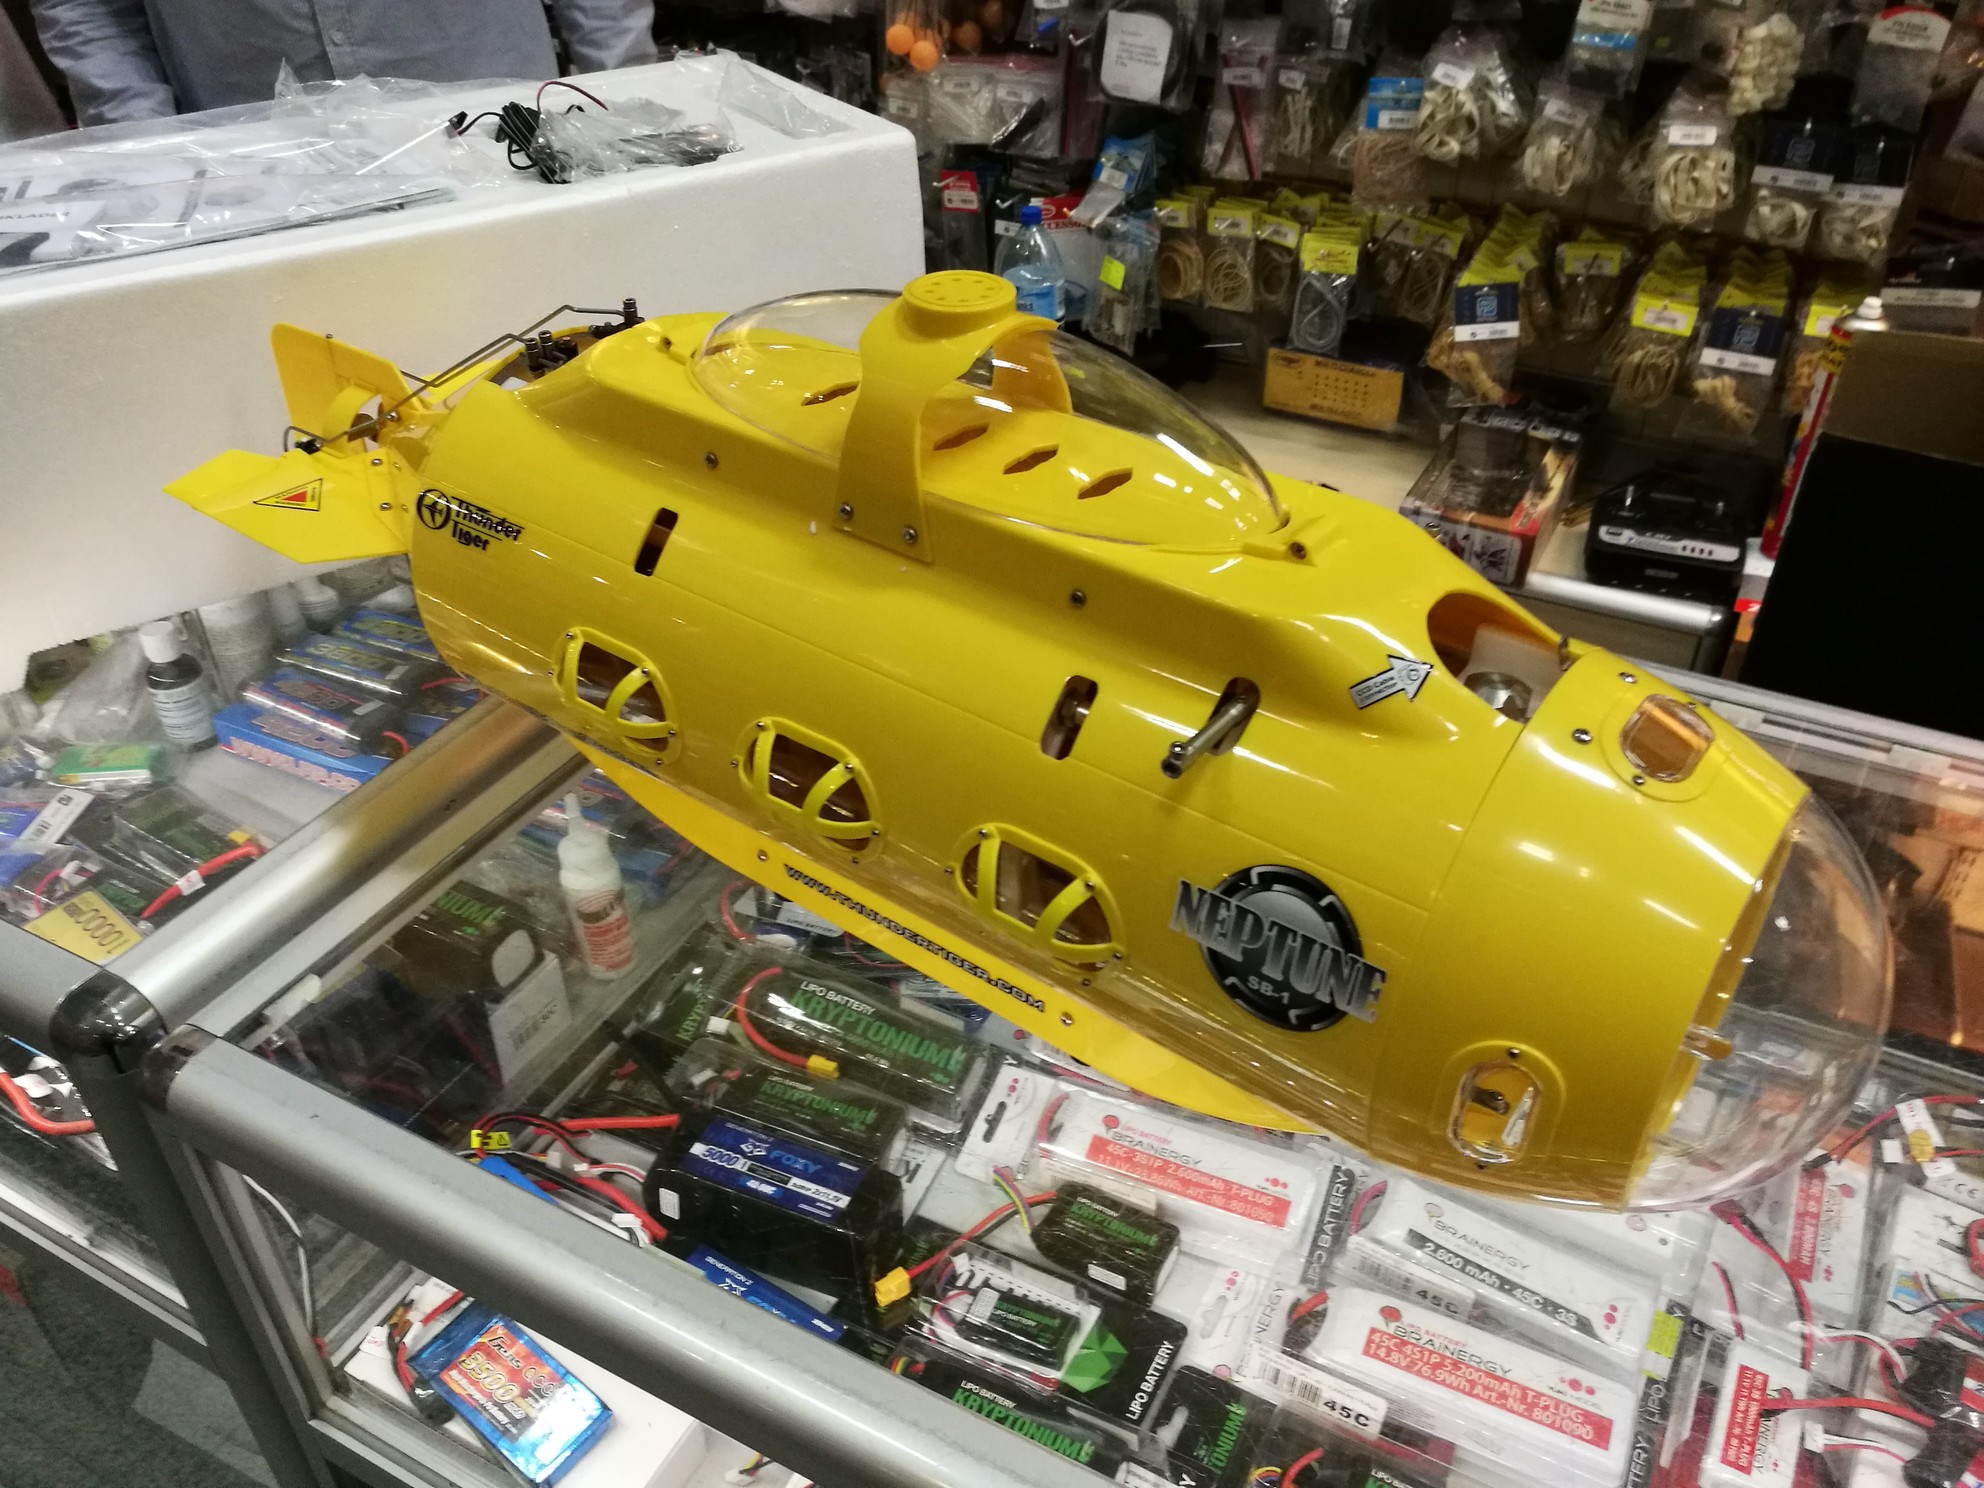
My PC-1203 – Perry class is nothing more then a modified Neptune SB1. It’s a rather old RTR set which was produced within a short period by Thunder Tiger, during years 2008-2009. The model was not very popular cause of two reasons:
Reason one was that it had few “childhood diseases” and quality control issues. Many of the units were leaking – not something particularly good for a RTR submersible… Most of them had leaks on the shafts main gasket – due of not enough lube on it and premature wear off. There were also problems with the model being was lubberly when it came to depth change. The dive planes were simply to small. Those two problems were extremely simple to fix by every model maker, but as it was an RTR – not something model makers buy… This leads us to the second reason of the lack of success of this product.
 The second reason is a bit more complicated – we can call it a “socially-economic” problem. Despite of being equipped with advanced mechanisms like the static diving system based on a elastic diving tank with digital pressure control, the model was to much ‘toy looking like’ for the serious model makers – RTR is not something you can work on, right? On the other side you had people who were not model makers and they wanted to get this thing as a cool gadget, but they weren’t exactly willing to pay 500$ for something they’ll use few times a year. It was the time before all the drones and RC toys became trendy.
I got mine from a local store in Poland and as I said earlier, it was given to me as a gift – from my Wife. The seller told her that the model was on the shelf for 8 years. I knew this might cause problems as rubber gets old and I was not mistaken… I’ve decided to make a full check-up and service before the first run.
Removing all the yellow elements is very easy. They only give the model it’s hydrodynamic shape, it’s the free flooded part of the hull.

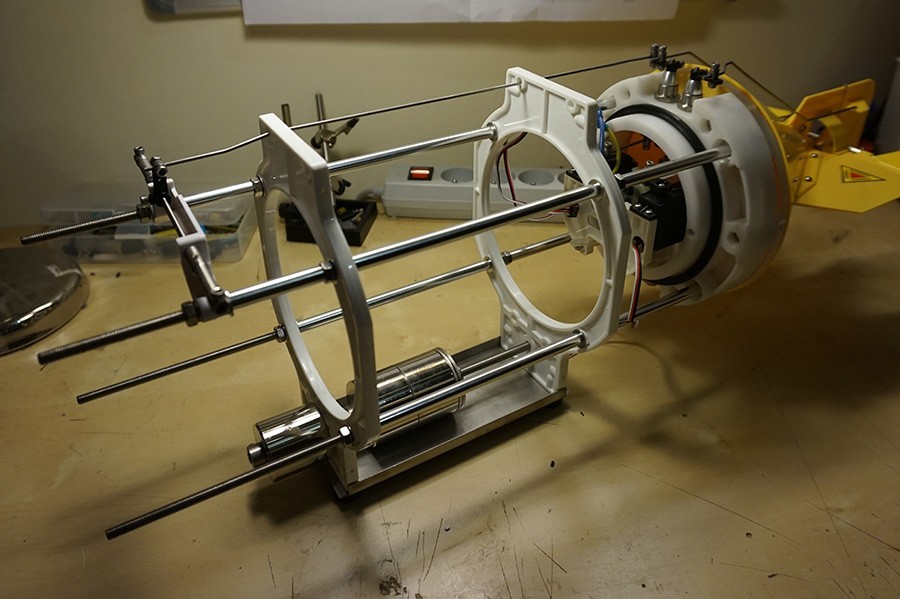
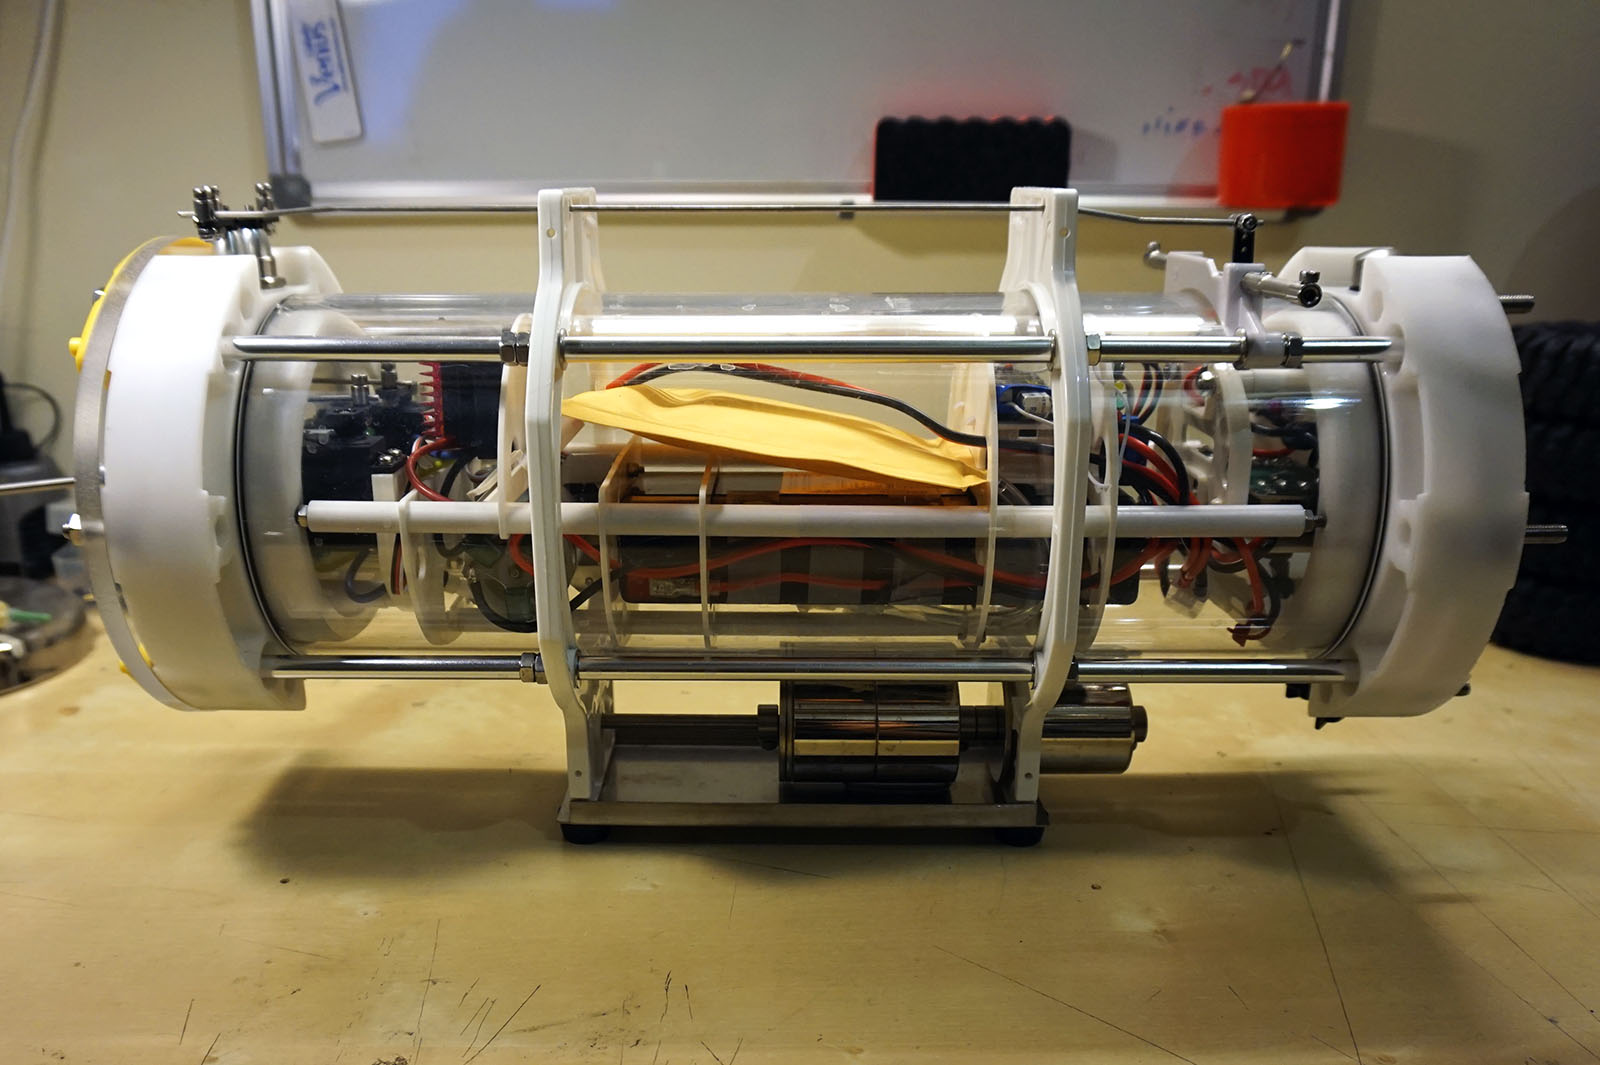
The dry hull – WTC is well designed and manufactured with a really decent quality, but assembled in a very lousy manner… As I wanted to gain access to EVERY seal and gasket for a visual check, I had to dissemble the model completely – to the bare bone.
So from RTR it quickly became almost a KIT 🙂
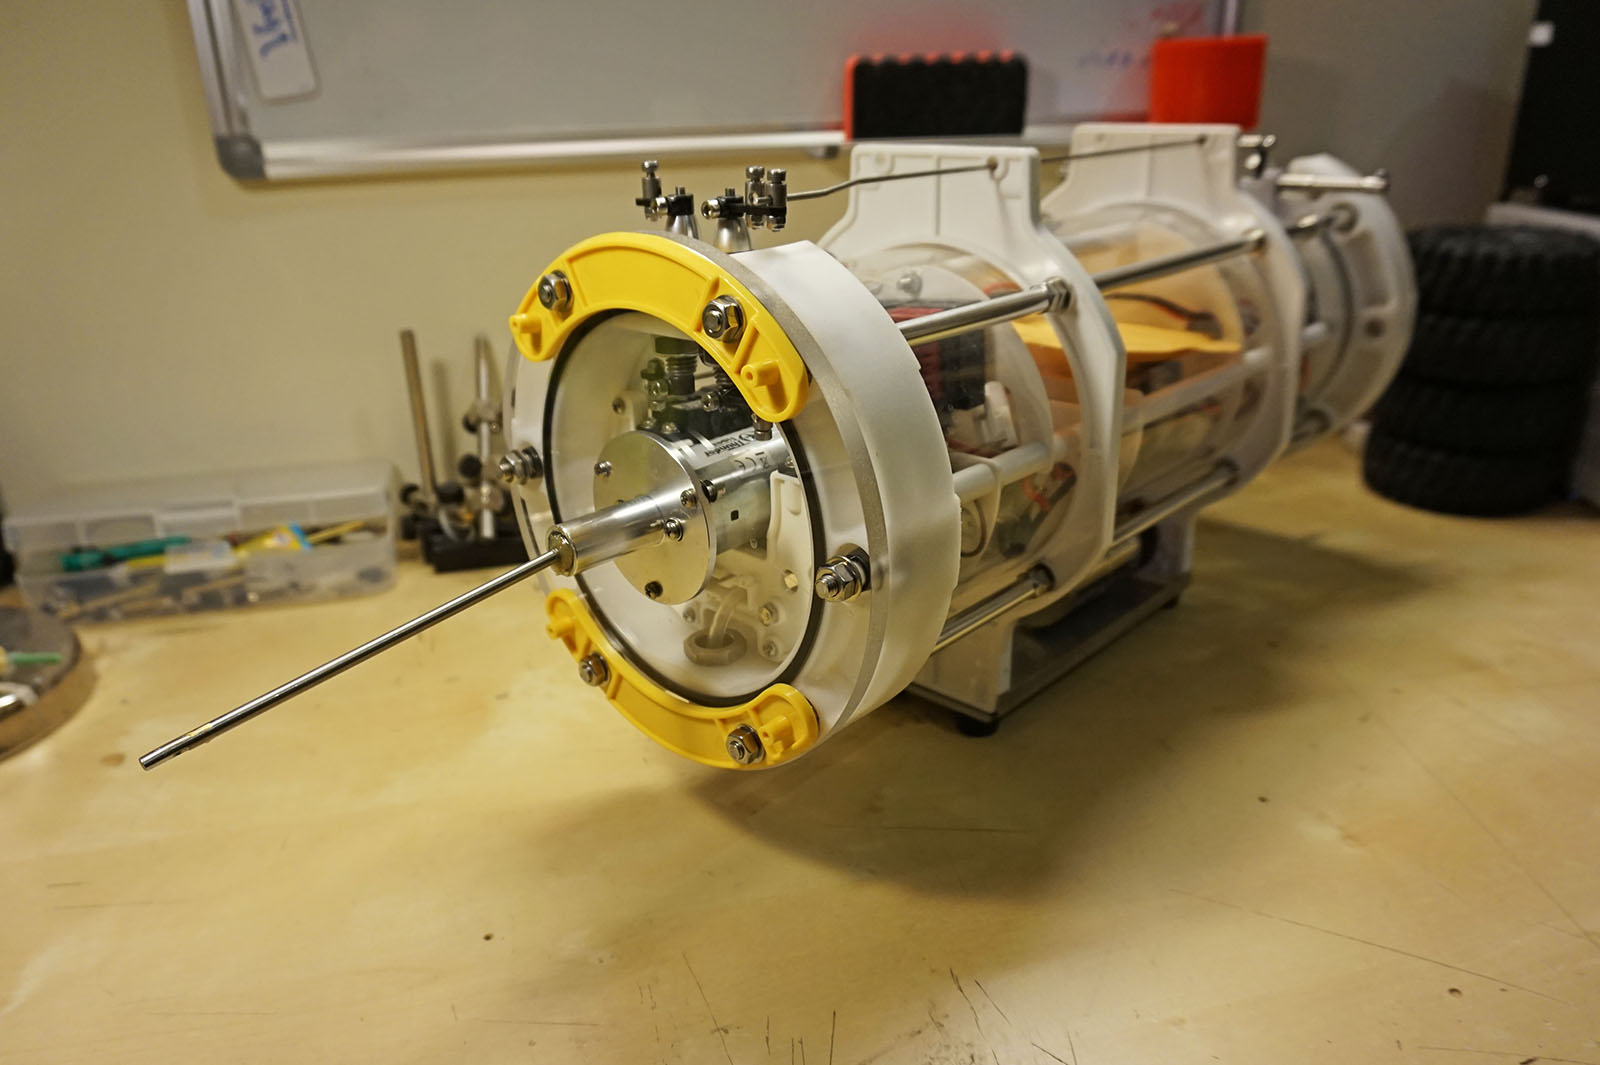
The high quality of the parts is clearly visible with each removed element. All the metal parts are properly machined with a high polish finish, the plastics are stiff and hard. The main support element consists out of 4 stainless steel threaded rods additionally stiffen and protected by aluminium sleeves.
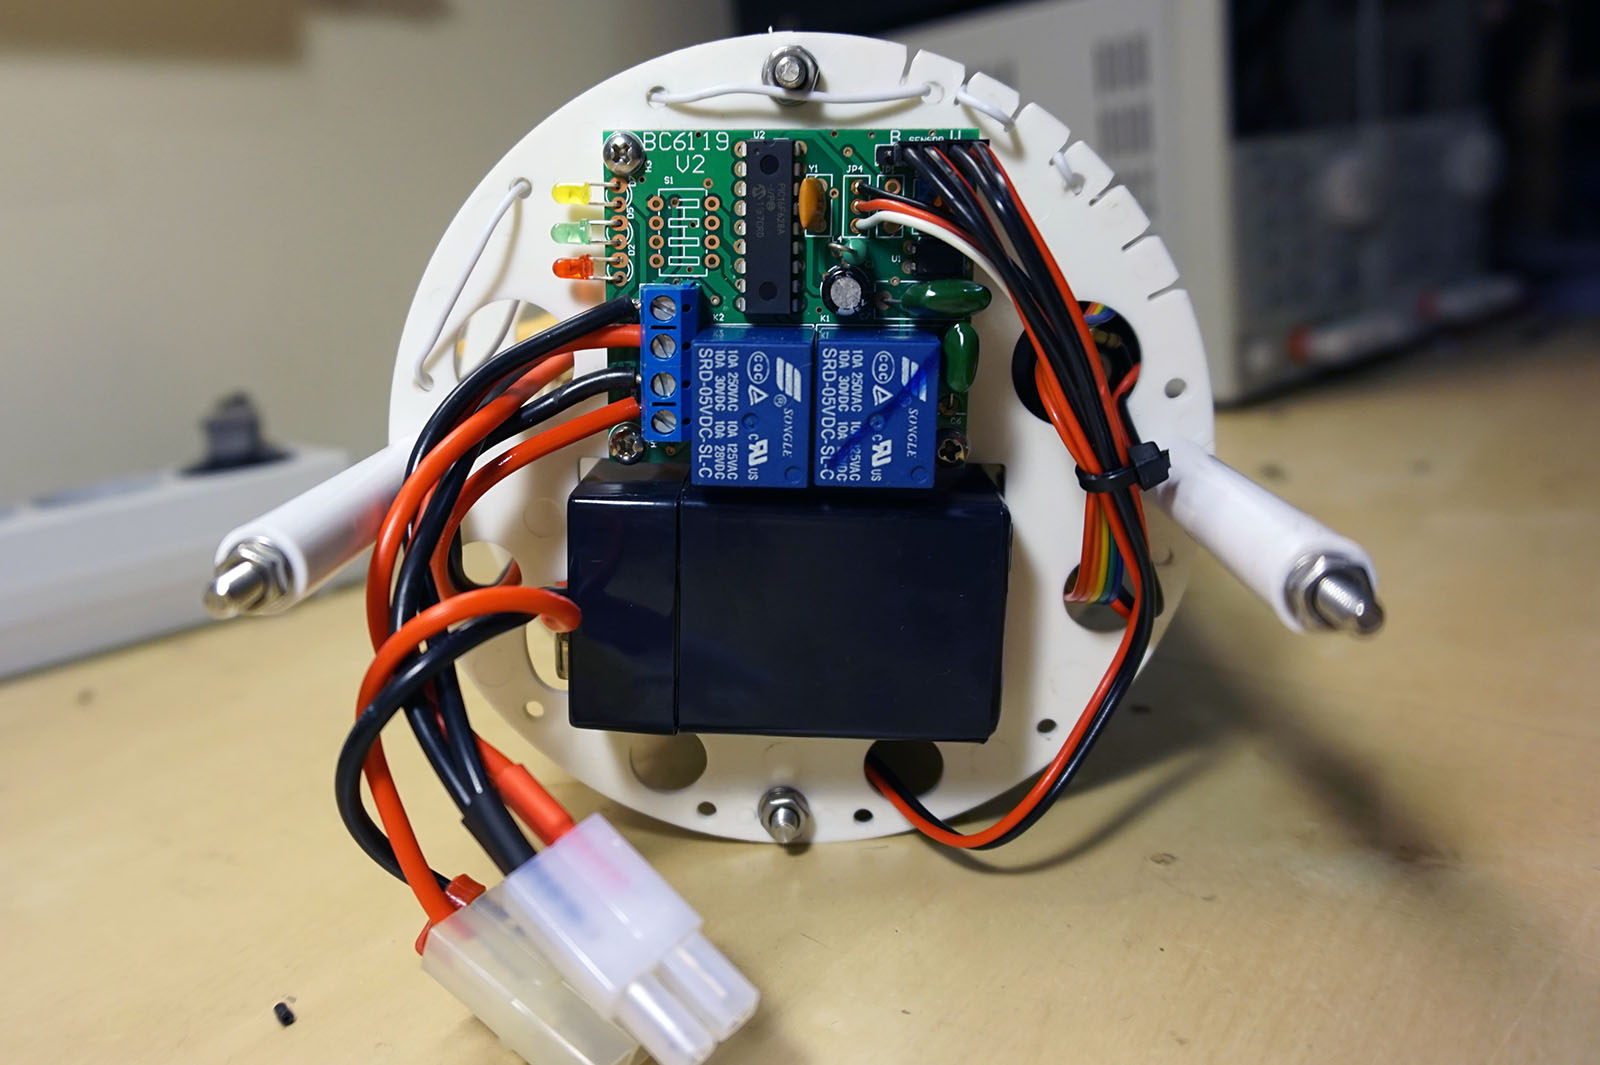
Model is a static diver, which means that it has a diving system. It has and elastic water tank (bladder) and a peristaltic pump so it doesn’t require any additional valves or air tubes. Additionally the system has been equipped with a pressure sensor which will keep the elastic tank from ripping due to overflow. Everything is controlled by a microprocessor with two relays and leds. The LEDs inform the user about battery level and the currently receiving command form the RX (dive/stop/surface). It’s a very good idea as the driver will not allow for a dive, if the battery level is too low. The driver has also a port for additional flooding sensor, but the sensor itself was not included with my unit.
Things which needed immediate replacement:
- Perished Seals of the tubes WTC.
- Simmerings of the dive planes and rudders servo pushrods – both damaged/perished.
- Seal from the Video Cable socket. Some moron caught the seal in the thread while screwing the nut on.
- 12V battery was dead, not capable of charging above 8V
- Main shaft seal not lubed enough, but in surprisingly good condition.
Summarizing, the model was in much more better condition on the outside then inside. It’s something which happens rather rarely, especially for models which rest on the shop shelf for years. Usually models are missing some external elements or they’re simply broken off. It was the exact opposite with this one – The mechanics needed some service, but exterior was in mint condition. Quickly I bought myself replacement parts – the seals and gaskets are nothing fancy so they were available in my local store with rubber accessories.
View from the aft. You can see the shaft, main motor and just beneath it there’s the water inlet for the ballast tank. I really like the quality of the CNC parts of the model.
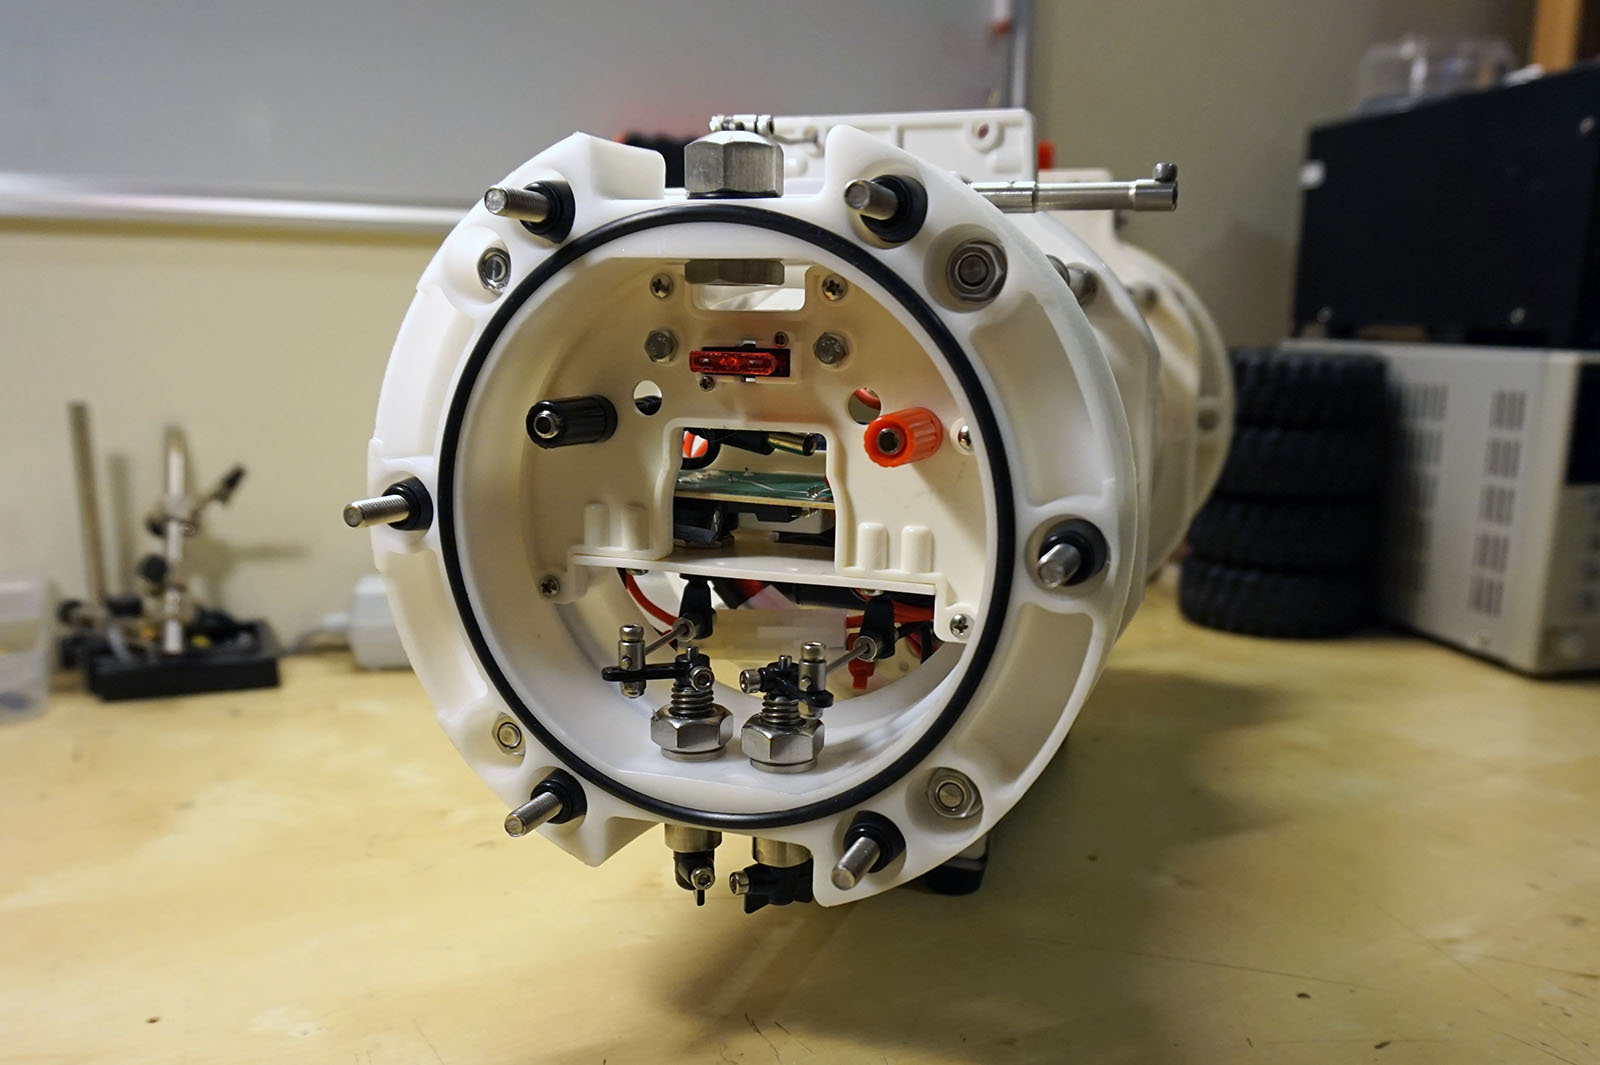
View from the bow, you can see the two switches used for turning the model on, the fuse and charging sockets.
The electronic tray is removable, but the amount of the screws and nuts which you need to loosen to do that is almost funny. Also, they need a rather special socked wrench and it’s nice that Thunder Tiger supplies one with the model.
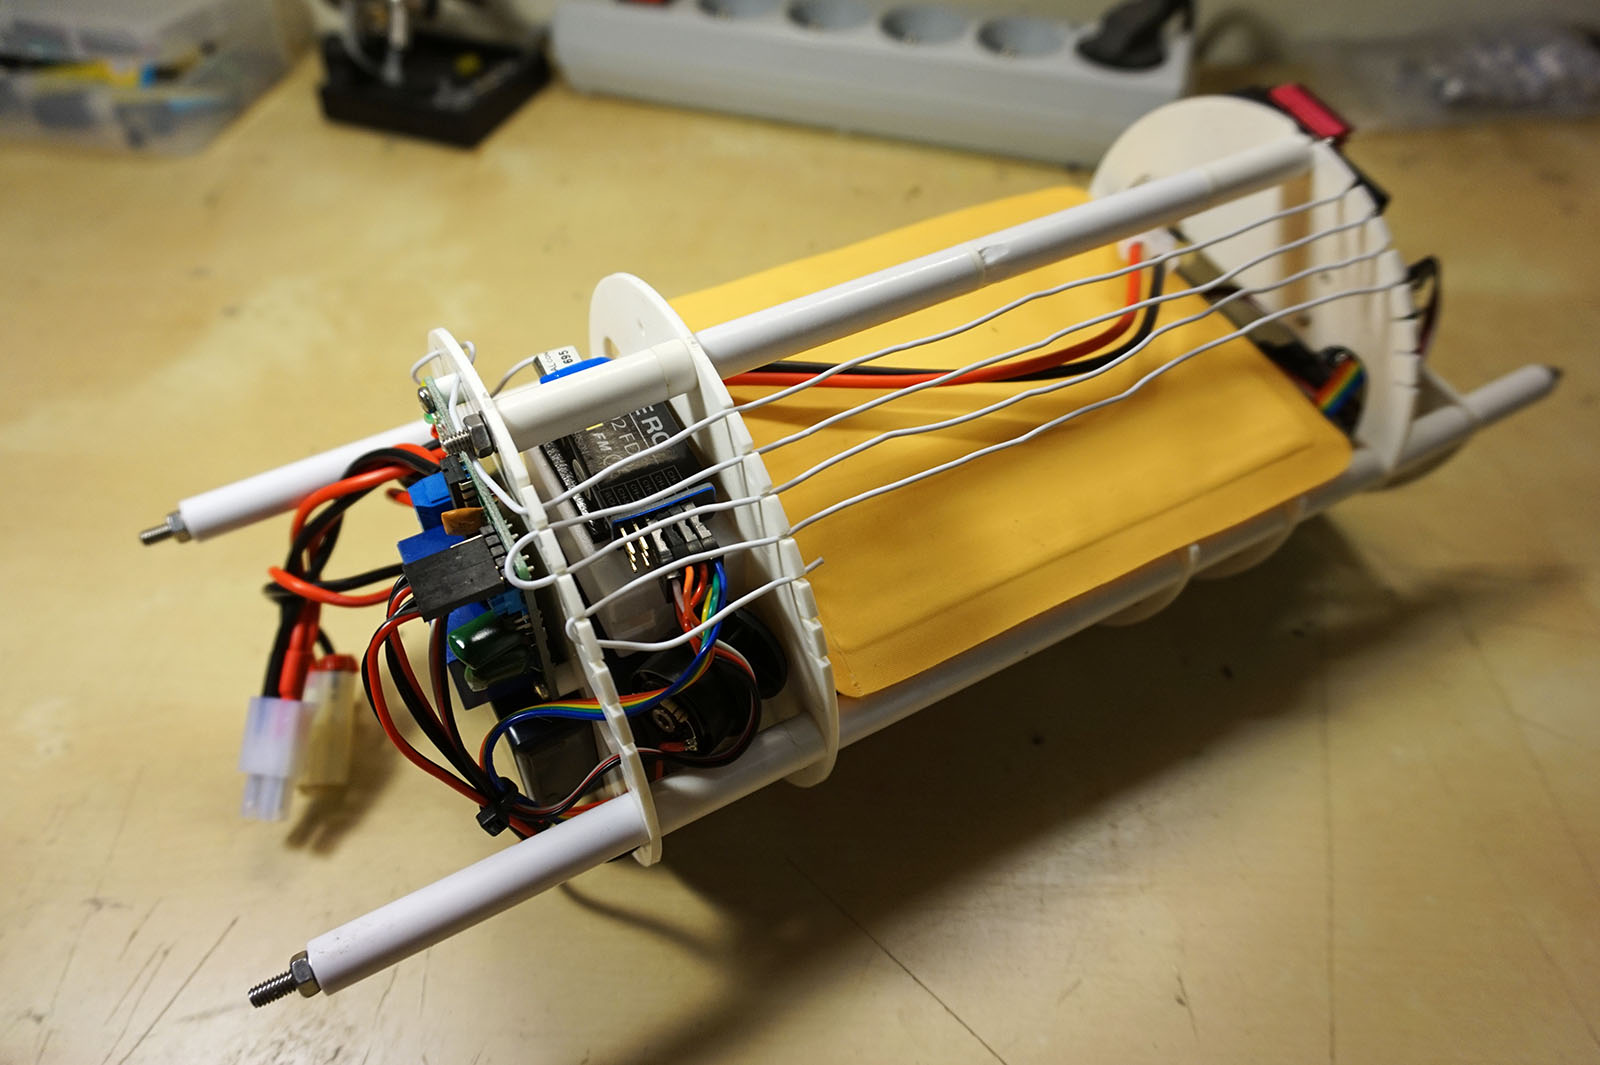
Views on the tray, the bow on the left, where you can see the pumps driver, it’s relays, LEDs and the battery tray just below…
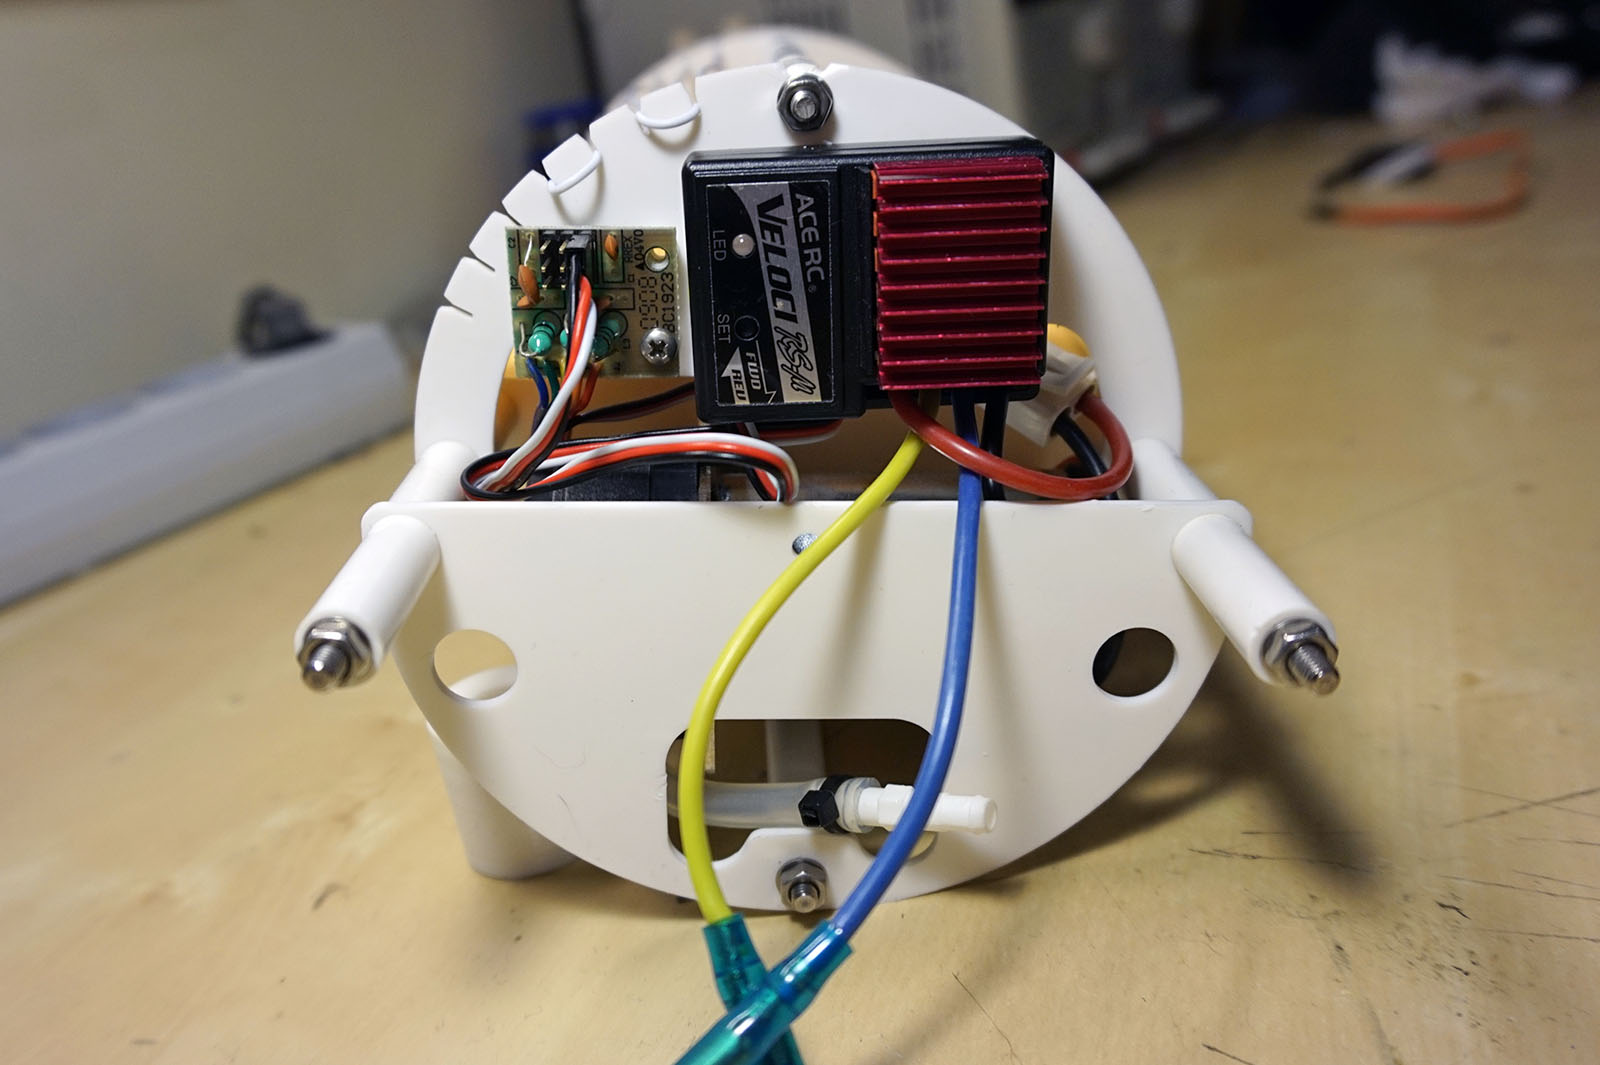
…and the view on the aft side of the tray where you can see the ESC and the water inlet.
After replacing the gaskets, lubricating the new ones, replacing the battery and checking the connections. I’ve put everything together again. It’s fairly easy, but you need to remember about all the washers as without them you might overtighten the WTC an damage the seal or even the polycarbonate tube.
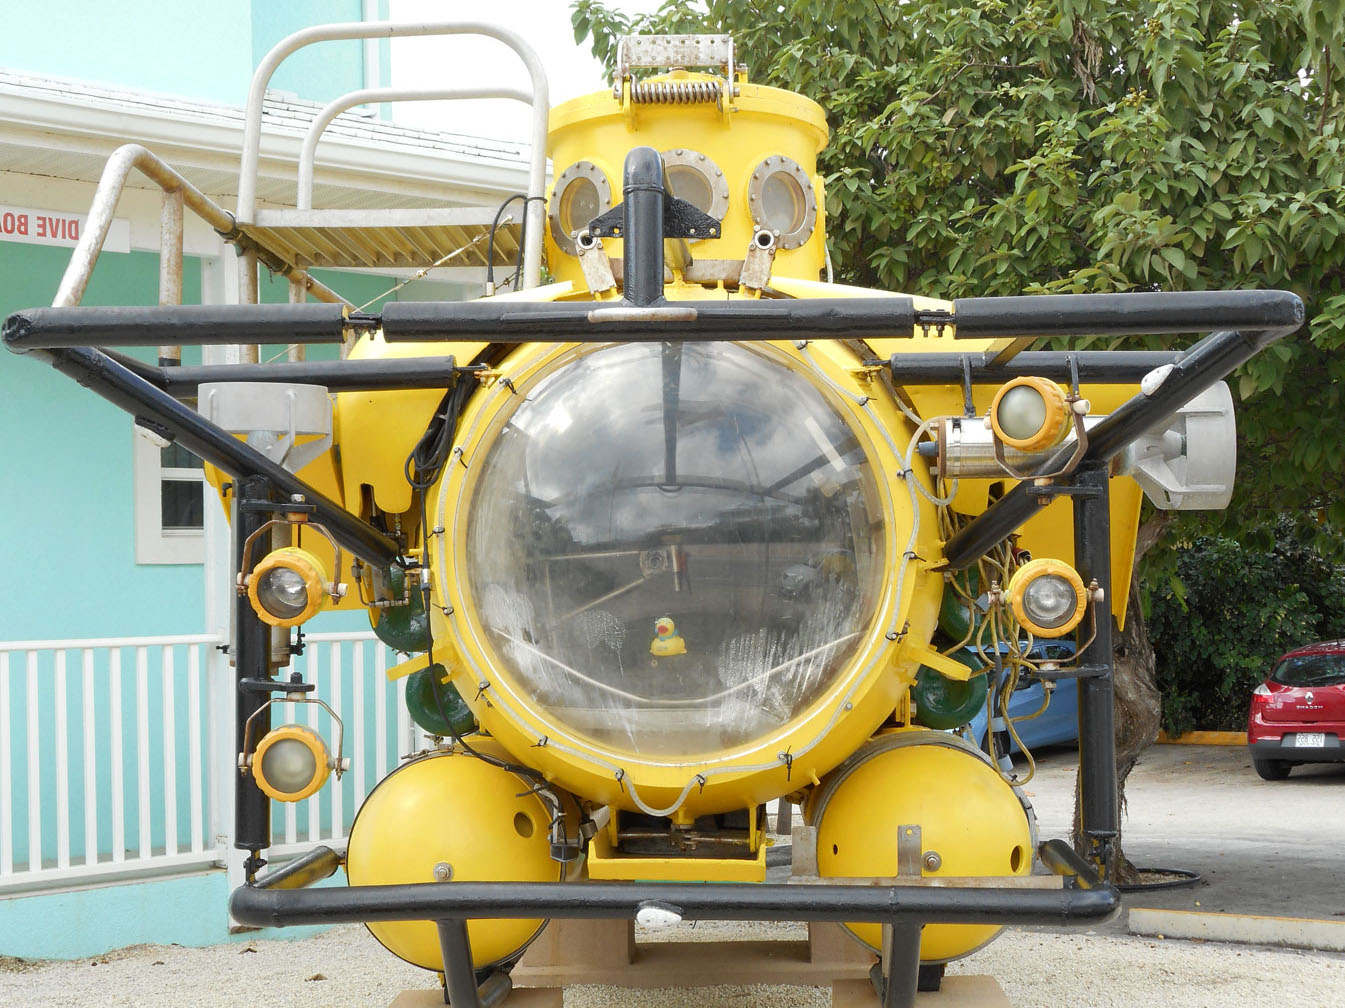
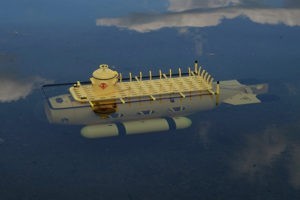
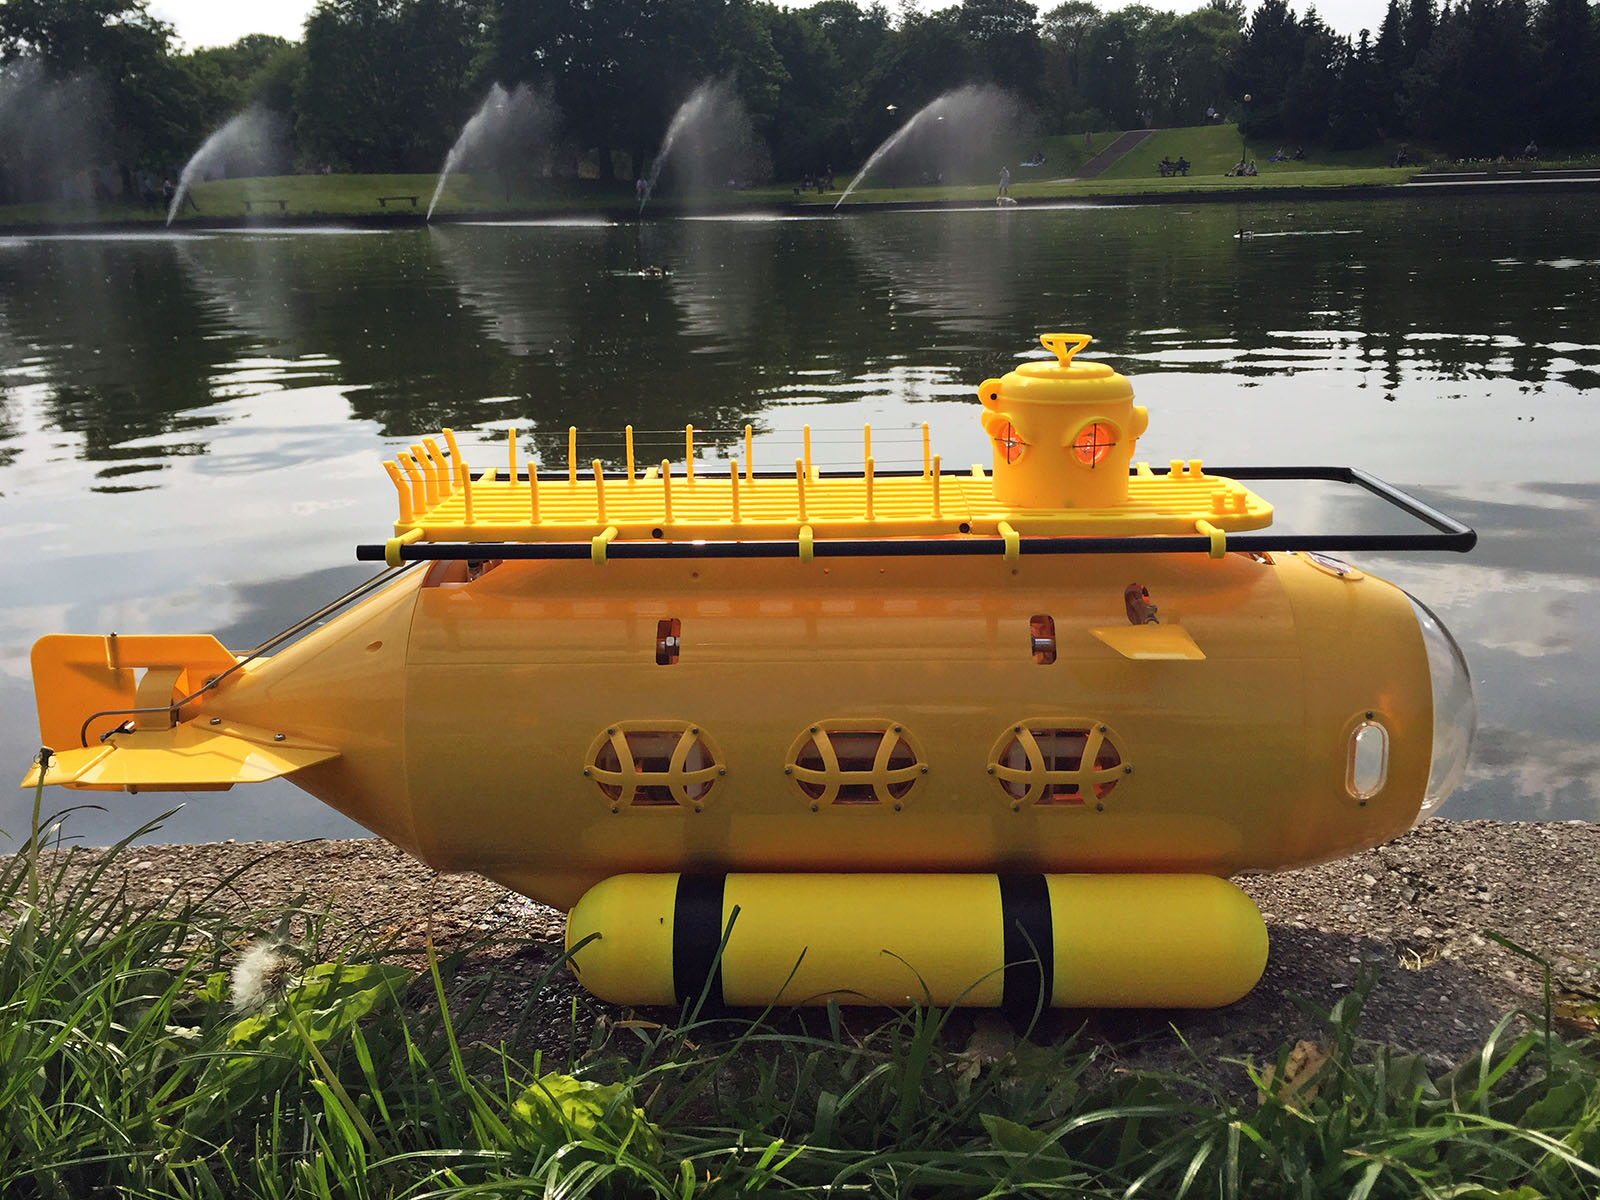
Now, when being sure that the WTC is operational and watertight I began the modifications to make it look more like the PC-1203 Perry Class submersible. Perry is and old and retired civilian diving vessel which I encountered when I was a kid. I was very, very impressed by it so I guess it’s my tribute to it.
The work began with designing the upper deck. From the very beginning I knew this is not going to be a scale project, rather something which looks similar to the original vessel, so it was easy and fun.
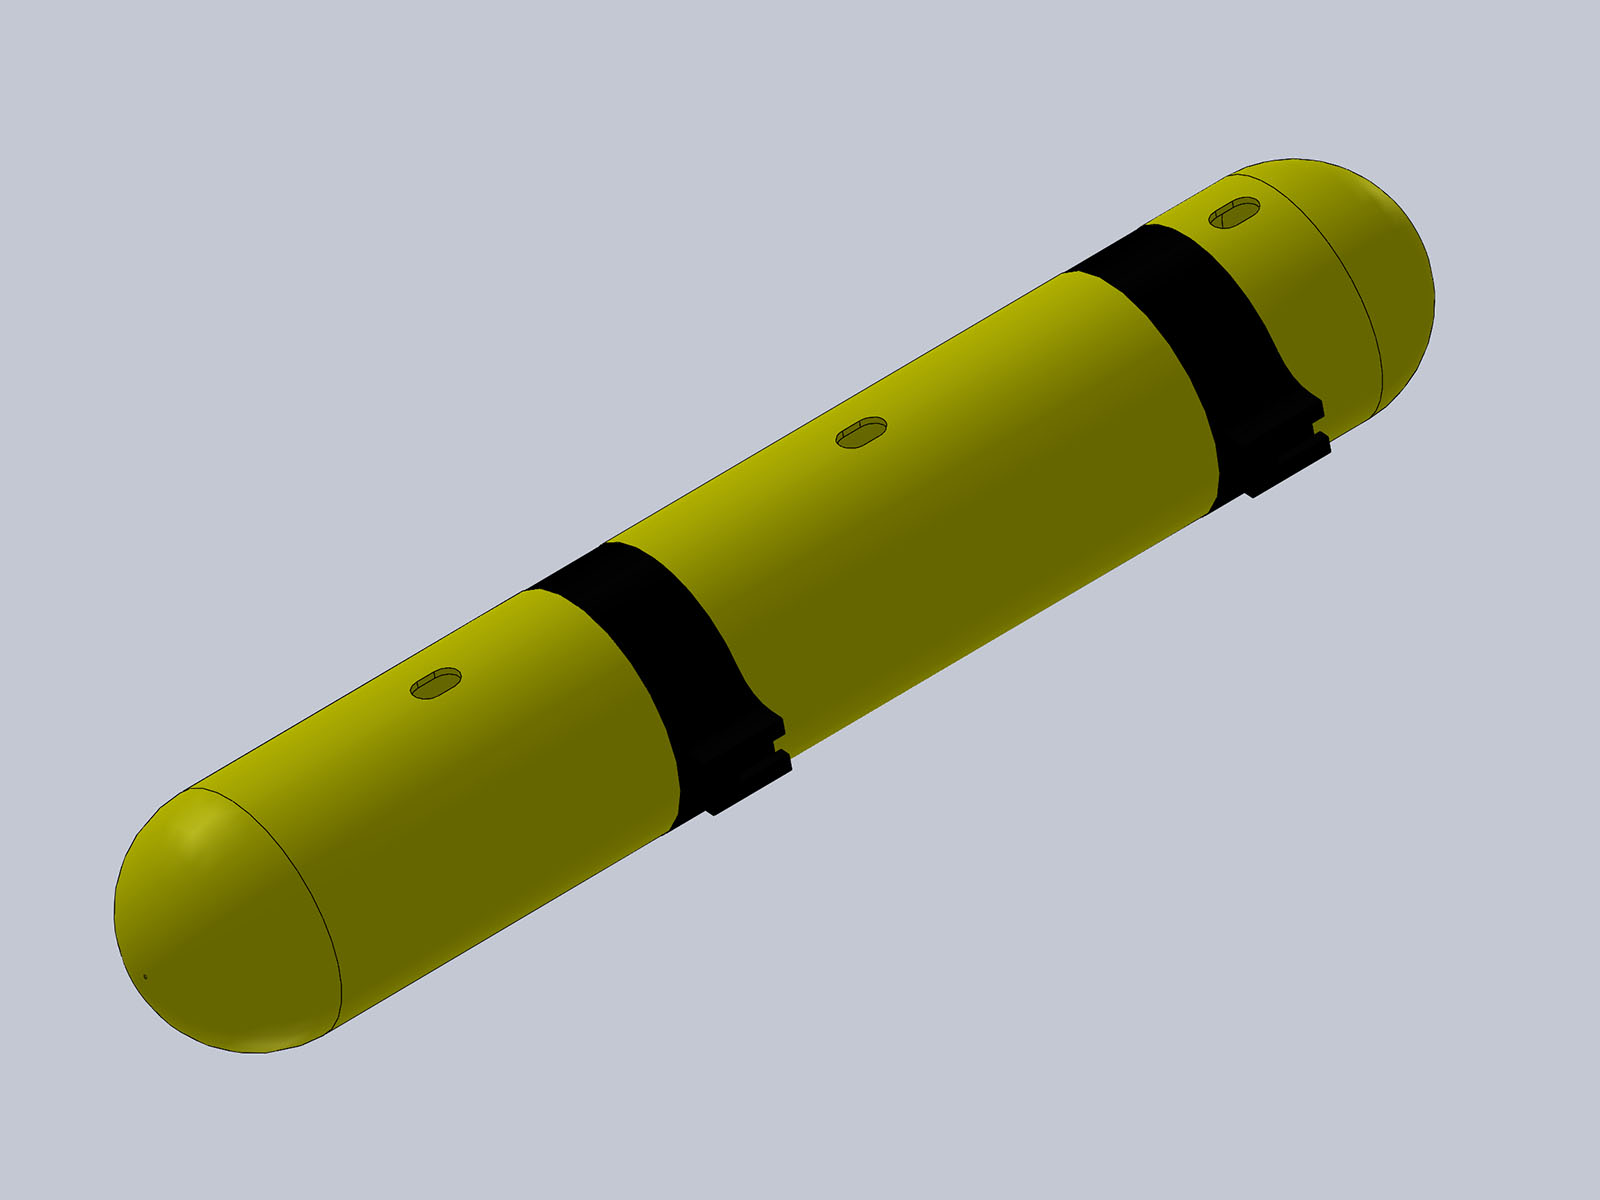
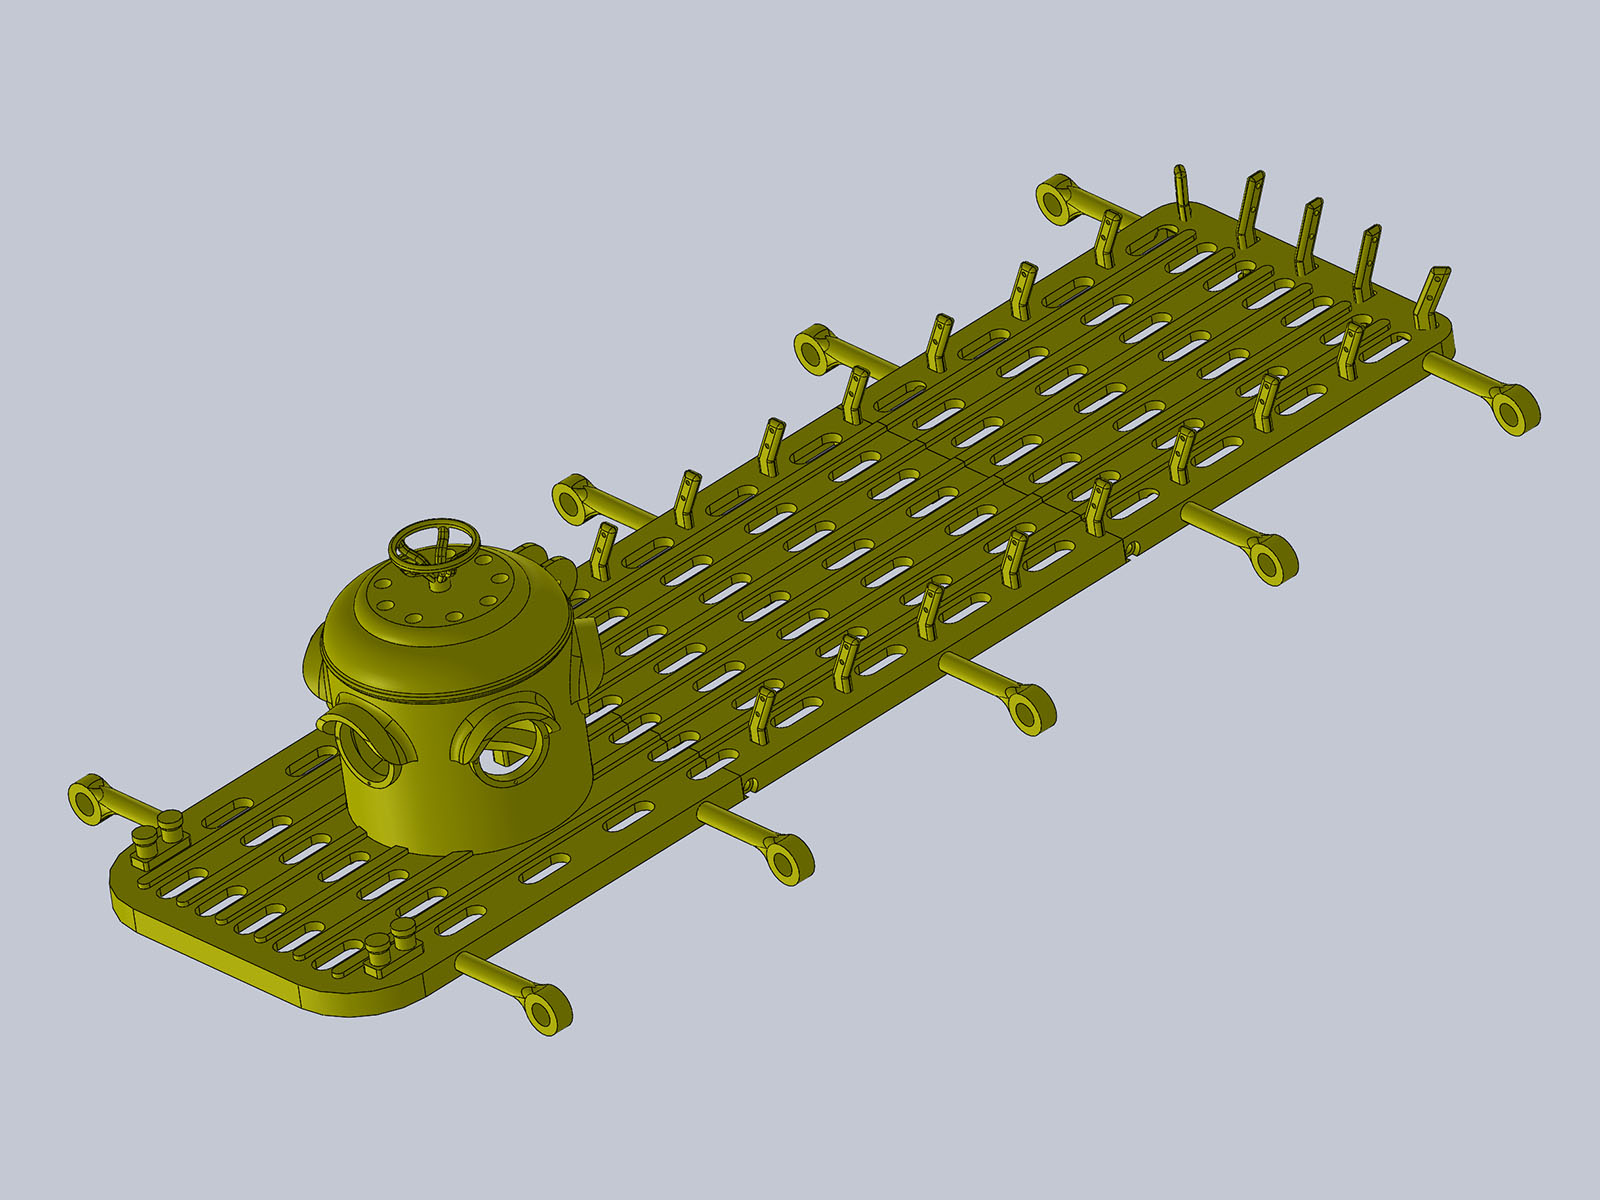 Later on I designed the stabilizers/ballast tanks:
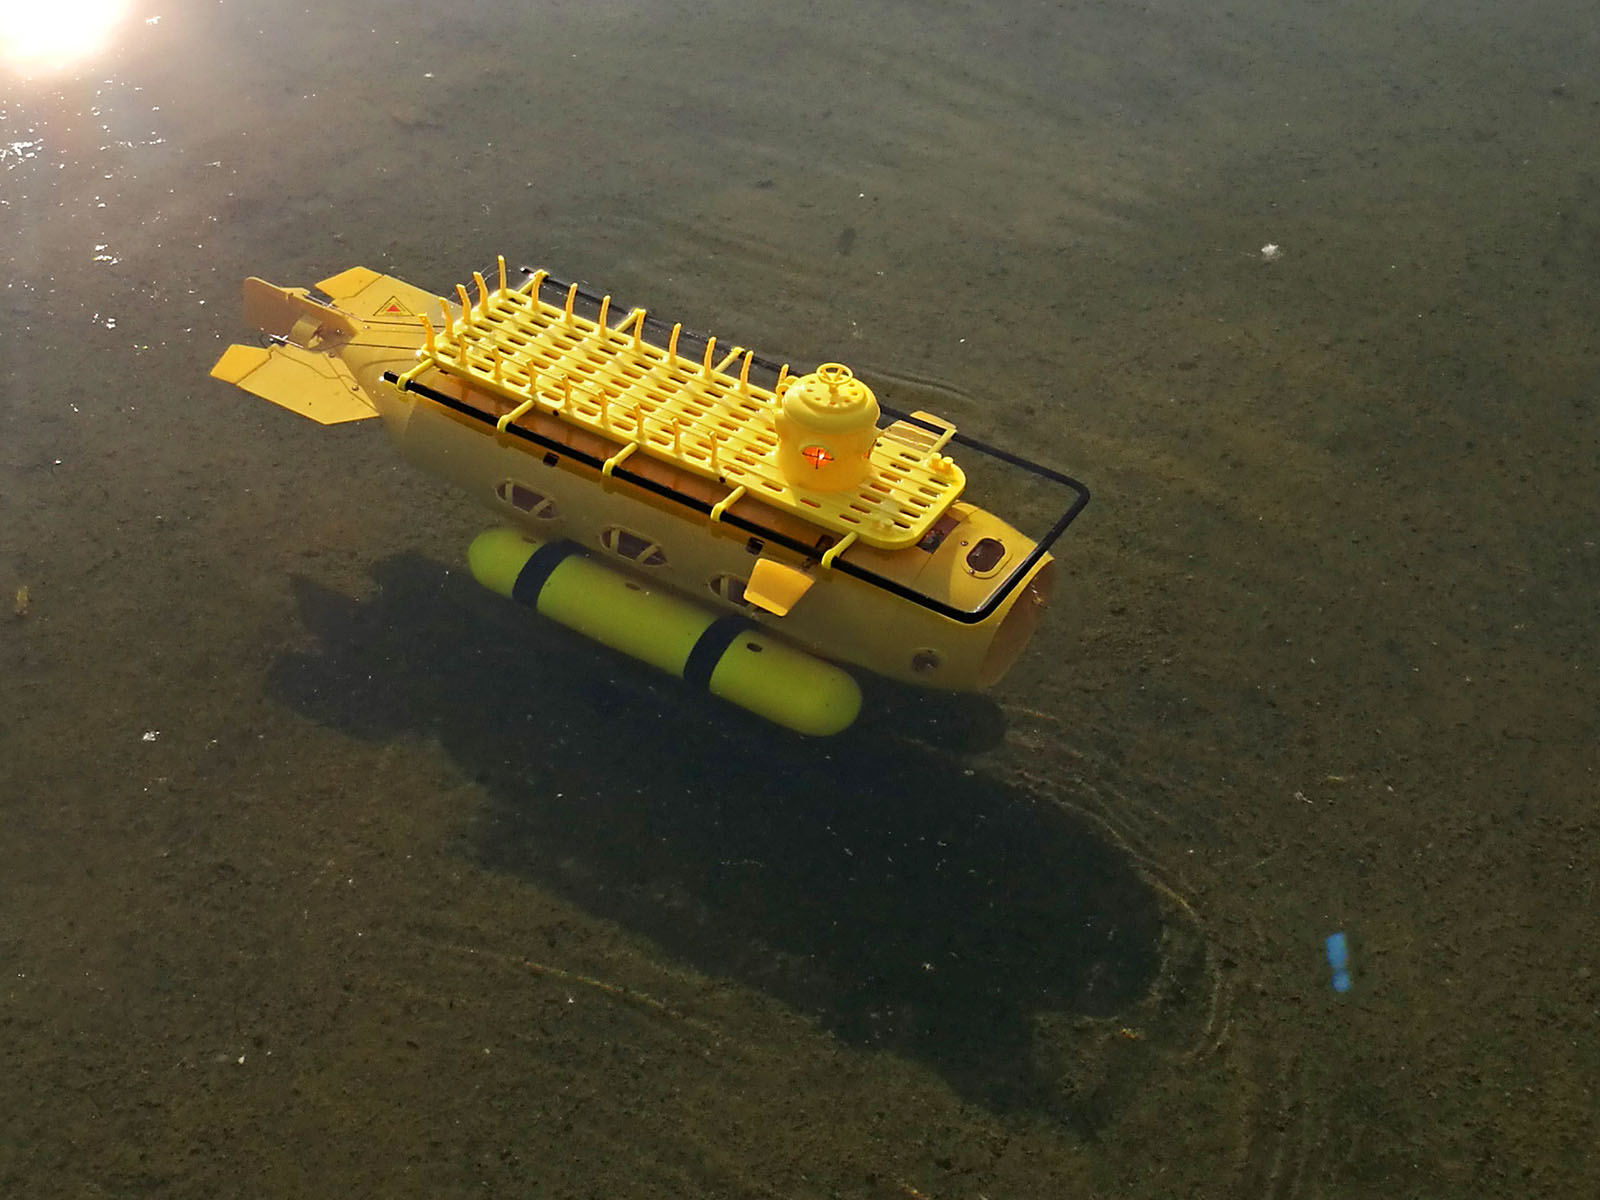
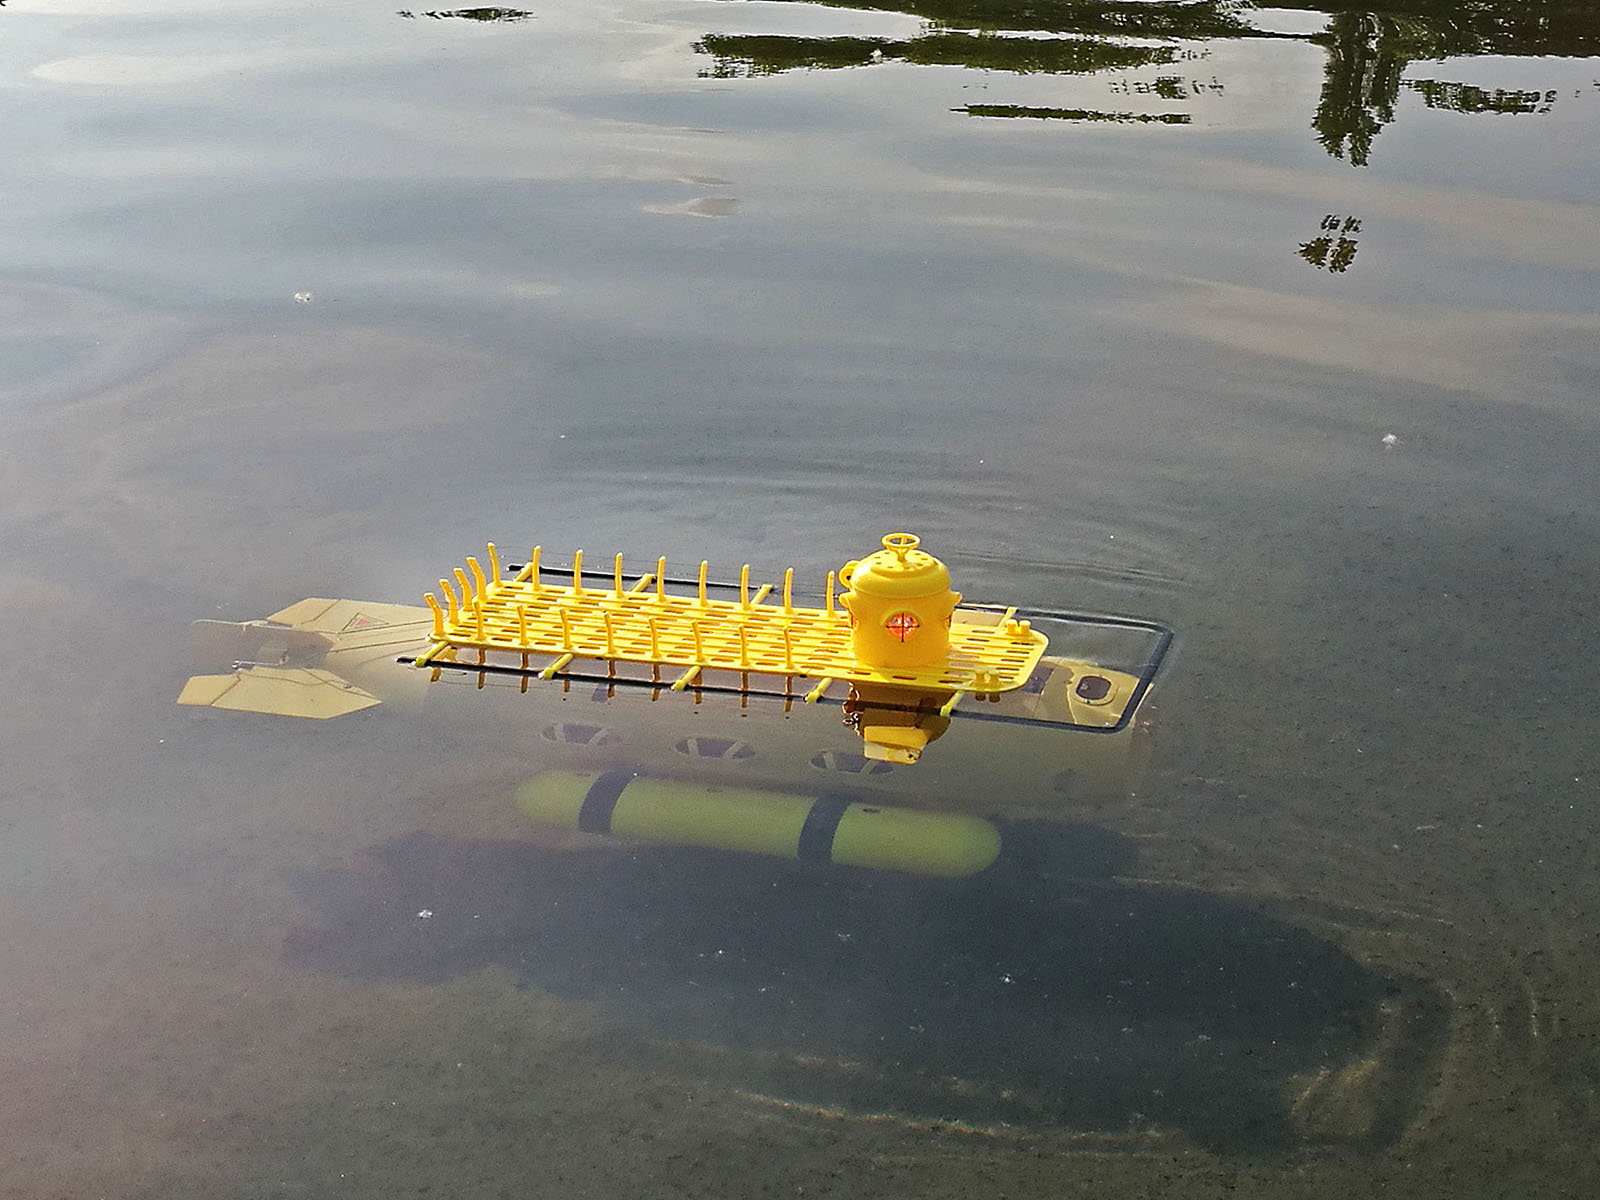
The elements have been 3d printed in ABS and assembled, so I was ready for the first run in the lake:

During the first run I quickly noticed two things: Firstly – it almost turns in place, secondly – the stories about he model being lubberly when it comes to depth change with the dive planes were true. This thing is almost completely uncontrollable when it comes to vertical corrections. The dives planes had to be changed…
So after getting home – after the first test run, I designed two sets of new and bigger dive planes…
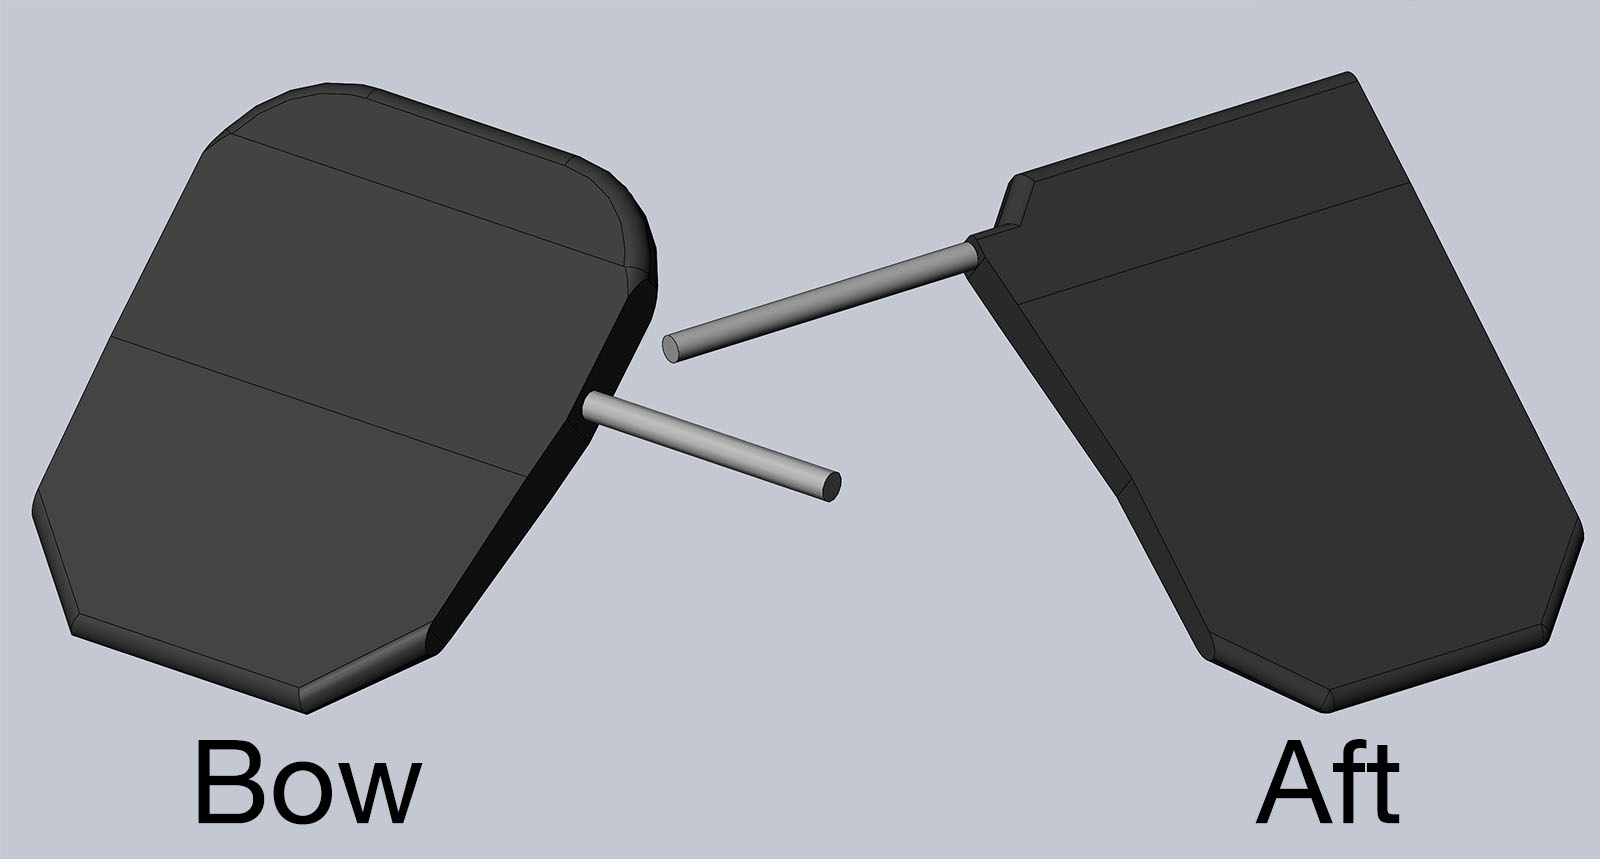
…and again printed the elements in ABS. In my opinion the black diving planes look way better then the yellow ones.
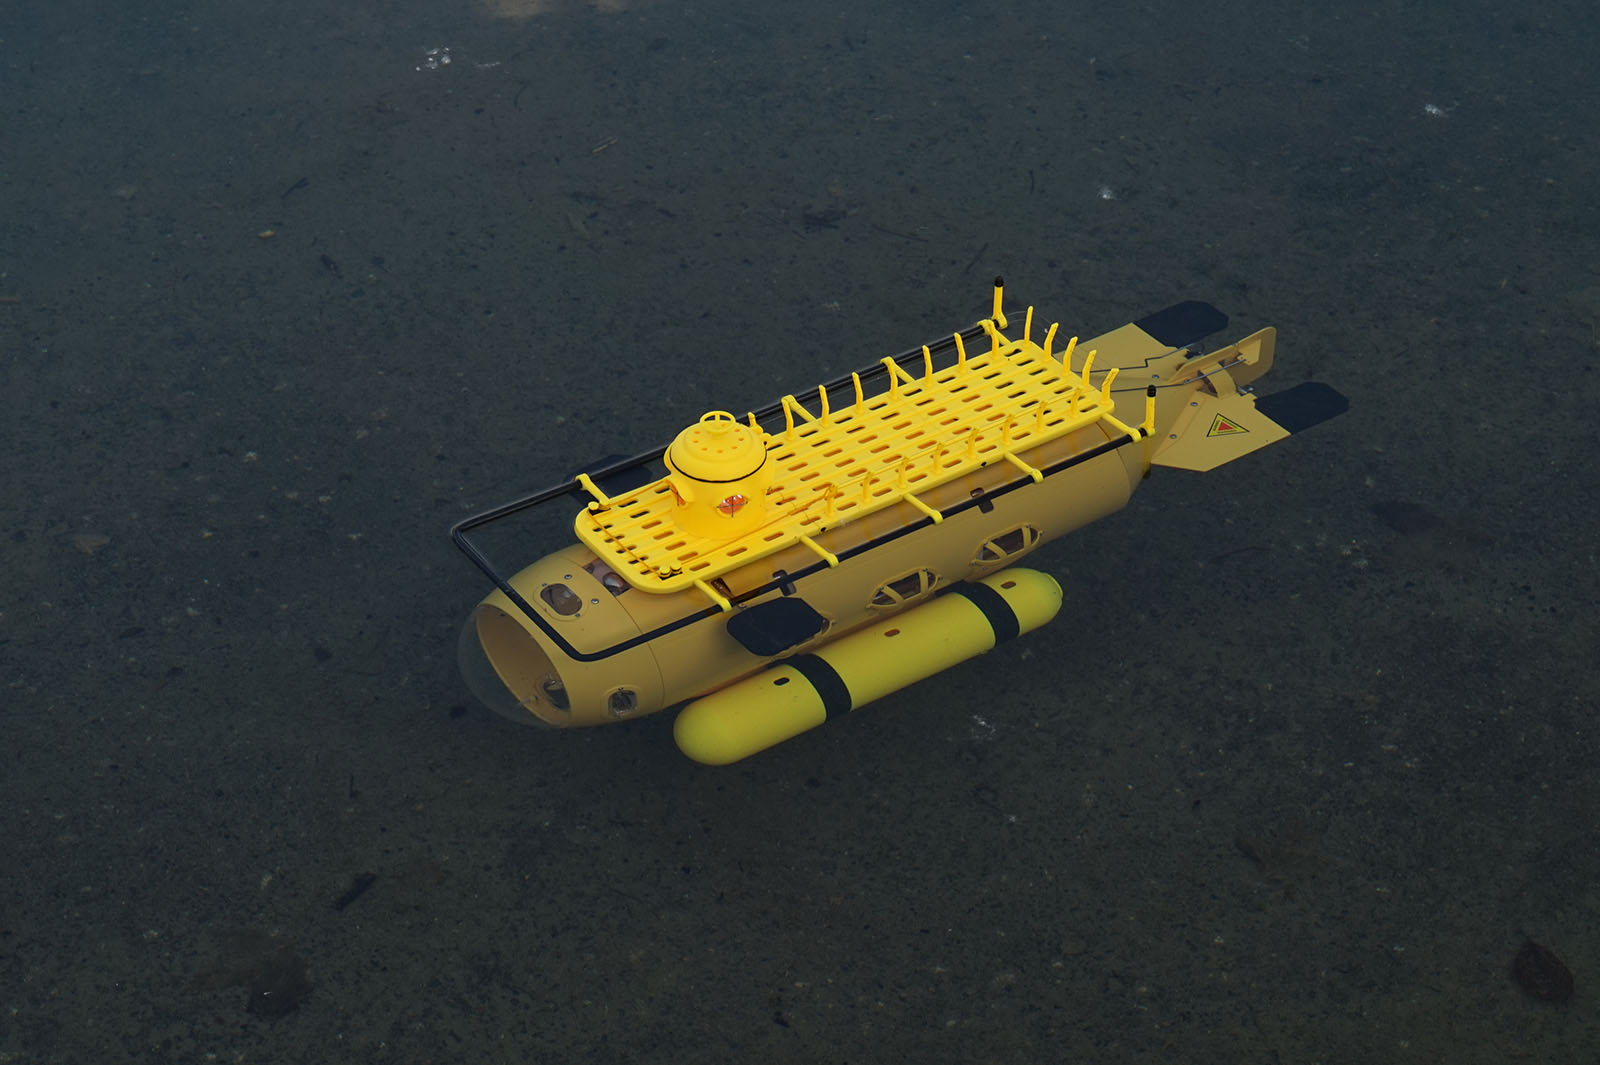
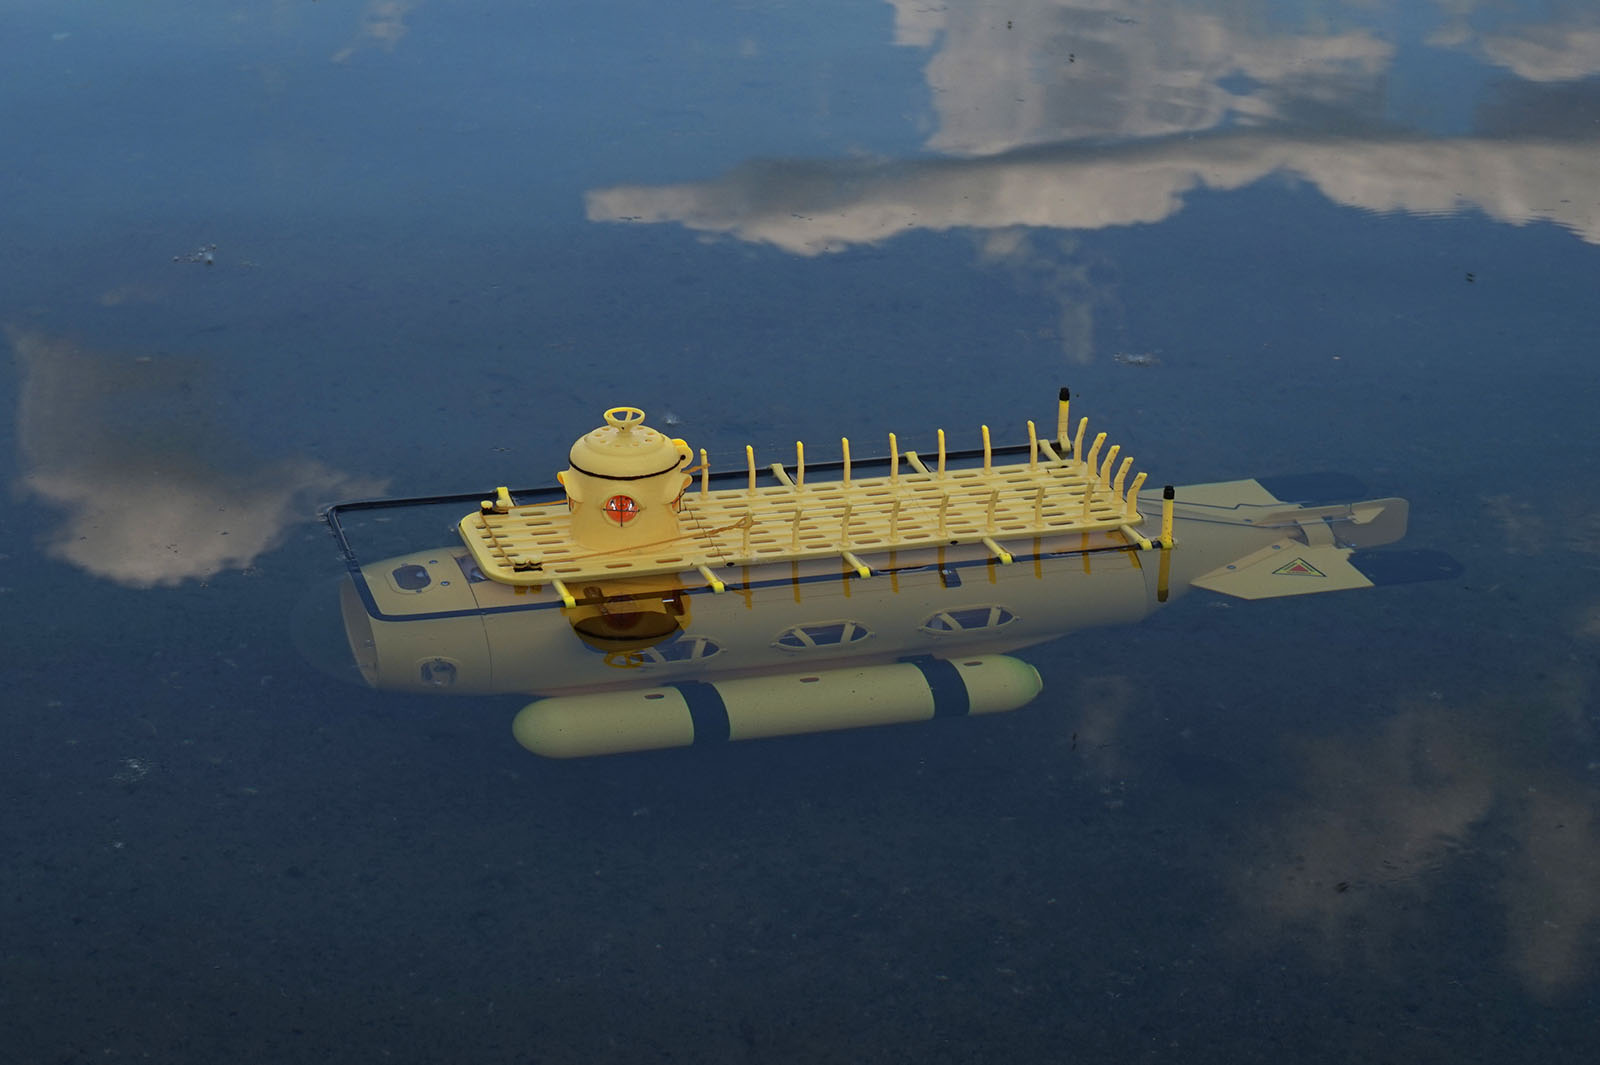
With the new pairs of fins this thing finally runs like a charm in all directions. At some point I had to replaced the elastic ballast tank, but it was no problem either. It’s a little shame that this yellow thing had such a bad press and that’s it’s not manufactured any more.